Step 1: Shut Off the Water Source (0 to 2 Minutes)
- Toilet leak: Rotate the angle stop valve behind the bowl clockwise until it stops. Most Rocky Ripple homes use a 1/4-turn or multi-turn stop rated for 125 PSI.
- Shower leak: If the valve body is leaking inside the wall, shut off the main house valve. It is typically located within 5 feet of where the municipal line enters, often in the basement or crawl space.
- Supply line burst: Braided stainless lines fail at the crimp. Close the stop and place a bucket beneath the connection.
- Confirm shutoff by flushing the toilet or running the shower. Flow should stop within 10 seconds.
- Seized stop valve: If the angle stop will not rotate, do not force it. A snapped stem releases full line pressure. Close the main and replace the stop with a 1/4-turn ball valve during reconstruction.
Step 2: Identify the Water Category (2 to 10 Minutes)
- Category 1 (Clean): Supply line, fill valve, or showerhead. Clear, odorless, safe to extract with standard equipment.
- Category 2 (Grey): Shower drain backup, soapy standing water older than 24 hours, or condensate mixed with debris.
- Category 3 (Black): Toilet overflow containing solids, sewer line backup, or any clean water that has sat over 72 hours. Requires biocide and PPE.
IICRC S500 protocol requires that Category 3 water trigger removal of porous materials within 4 feet of the source. If your bathroom loss involves a toilet overflow, review the toilet overflow cleanup and Category 3 removal protocol before touching the affected area without gloves and an N95.
Step 9: Prevent the Next Bathroom Loss
- Replace braided supply lines every 5 to 7 years, even if no failure is visible. The crimp fitting fatigues from constant 60 to 80 PSI pressure.
- Reseal shower grout lines and corner caulking annually. A 1/16 inch crack passes enough water to soak a subfloor over 30 days.
- Install a leak sensor at the toilet base and under the vanity. Battery units cost $20 to $40 and alarm within seconds of contact.
- Test the angle stops twice a year. A stop that will not close during inspection guarantees a flooded floor during a future failure.
- For homes over 20 years old, schedule a Rocky Ripple Water Restoration plumbing audit to identify aging shutoffs, corroded valve bodies, and undersized drain lines before they fail.
Step 3: Contain and Extract Standing Water (10 to 45 Minutes)
- Place towels at the bathroom threshold to prevent migration into hallway carpet or hardwood.
- Use a wet/dry vacuum with a minimum 5-gallon tank for puddles over 1/8 inch deep.
- Pull the bath mat, rugs, and any cardboard storage from under the vanity. These wick water at roughly 1 inch per hour.
- If standing water exceeds 1/2 inch across the floor, professional truck-mounted extraction at 150+ PSI removes 10 to 20 times more moisture than a shop vac.
- Check adjacent rooms within the first 15 minutes. Water travels along the path of least resistance and can migrate 6 to 10 feet through a floor cavity before surfacing.
- Empty the vacuum tank every 4 to 5 gallons. An overfilled motor housing can short out and stall extraction mid-job.
Step 7: Address Materials That Cannot Be Saved
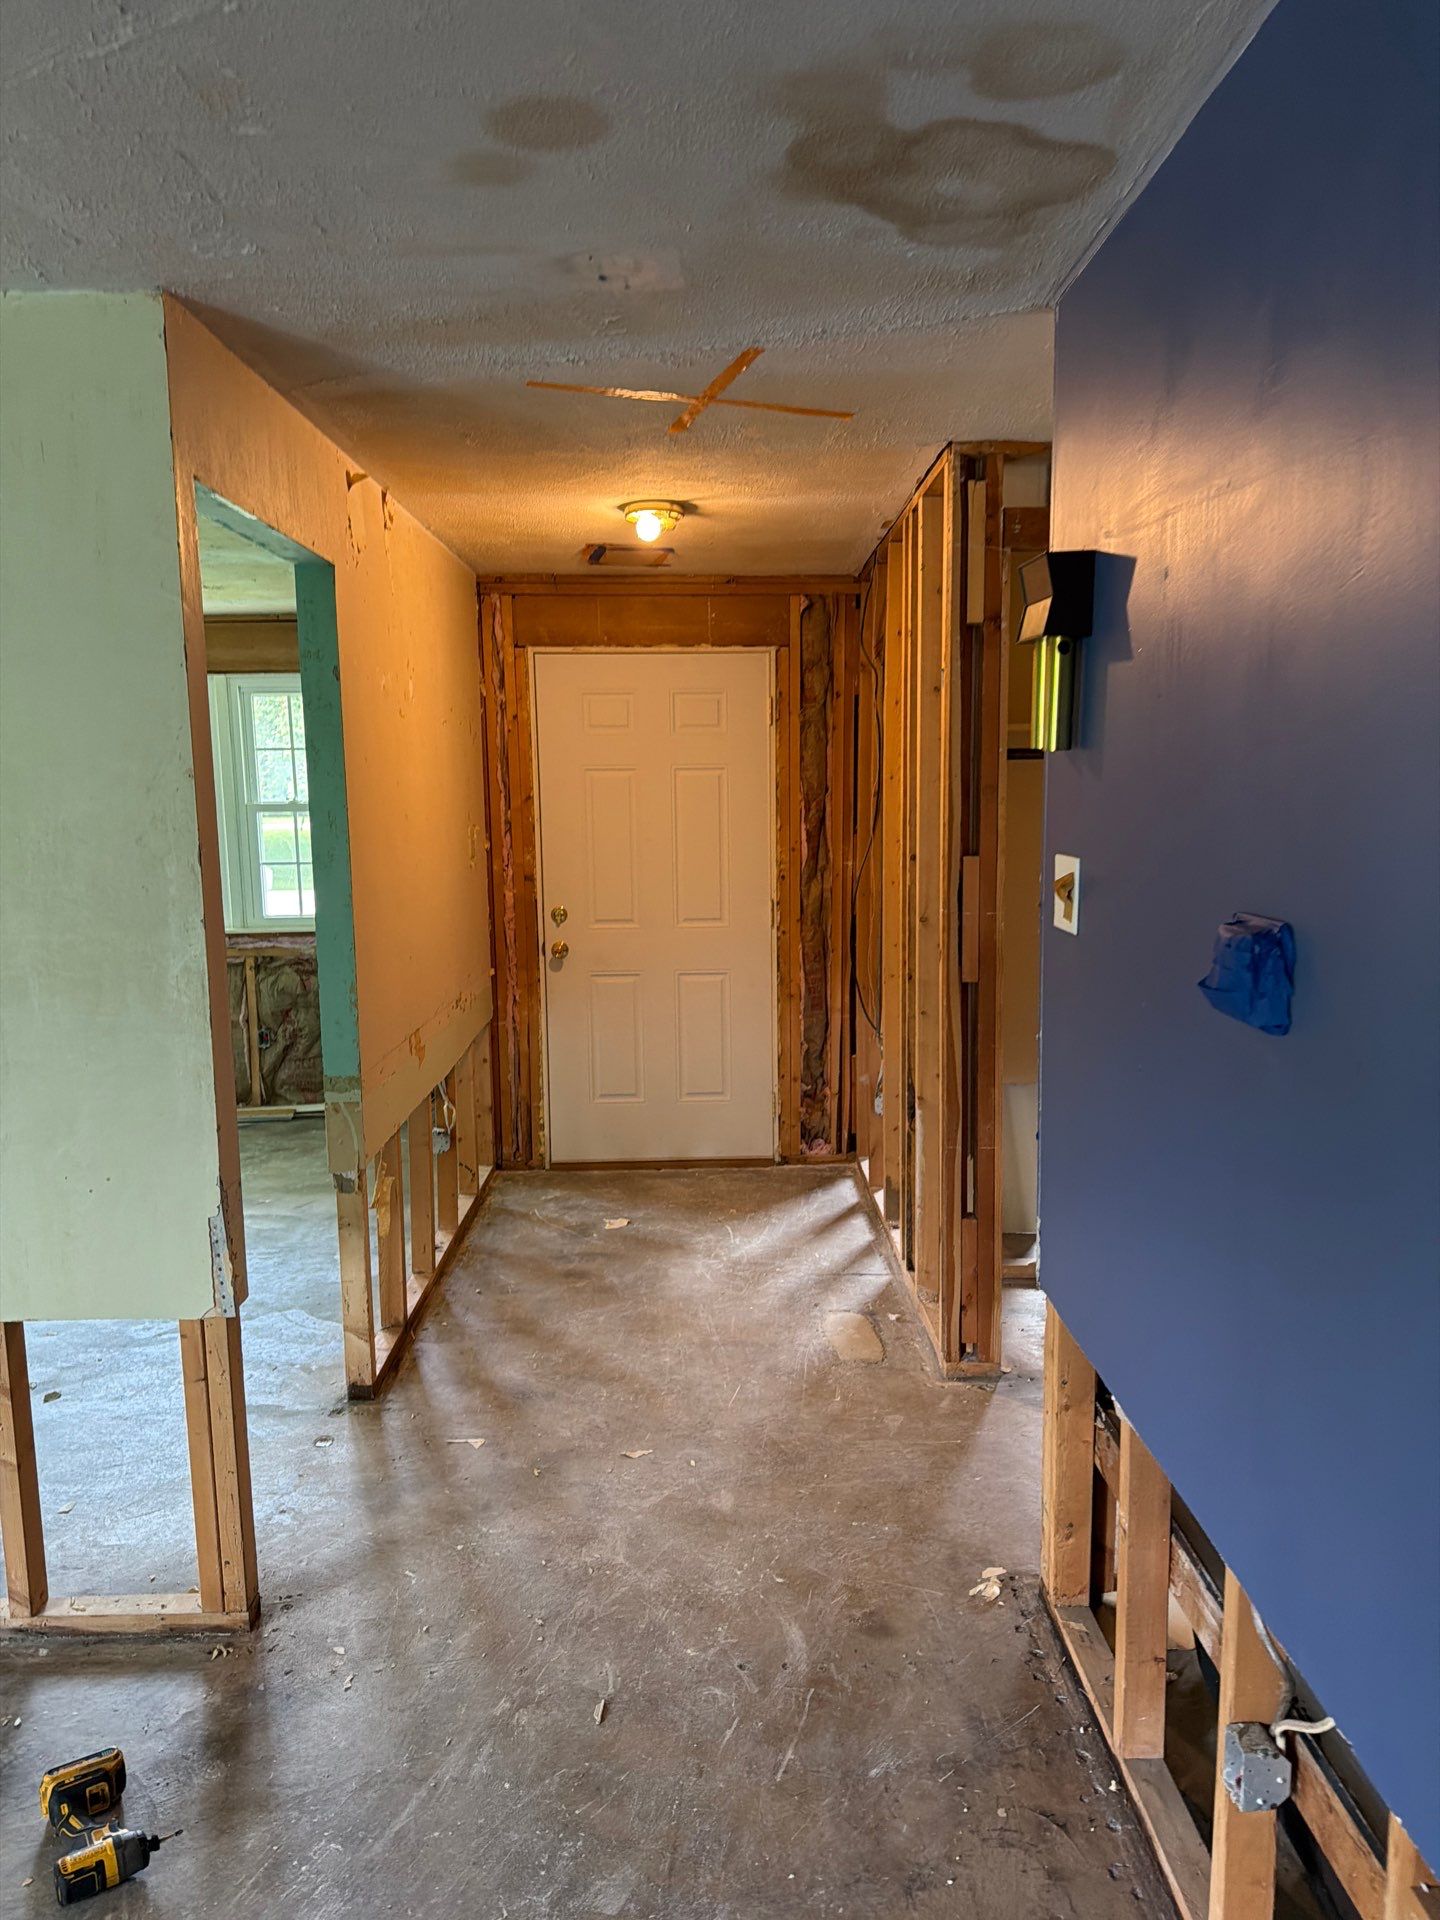
- Drywall: Wicked water above 24 inches from the floor or saturated beyond 48 hours requires flood cuts.
- Vinyl plank flooring: Click-lock systems trap moisture in the subfloor. Lift a section and inspect within 24 hours.
- Tile and grout: Tile usually survives, but the substrate (cement board or plywood) may not. Tap test for hollow sounds.
- Subfloor: OSB delaminates at sustained 25% moisture. Plywood is more forgiving but still warps. The subfloor water damage detection and repair guide walks through replacement thresholds and pricing for Rocky Ripple homes.
- Insulation: Fiberglass batts behind a wet vanity wall lose R-value permanently and should be replaced.
- MDF trim and casing: Once swollen, MDF cannot be dried back to spec. Replace with primed pine or PVC trim in wet zones.
Step 4: Inspect Hidden Cavities (45 to 90 Minutes)
- Toilet base: Rock the bowl gently. Movement indicates a failed wax ring and likely subfloor saturation beneath.
- Shower pan: Check the ceiling directly below. A stain 12 inches or larger usually means the pan liner or grout has failed.
- Vanity cabinet: Open the doors and feel the back wall and floor. Particleboard swells at 16% moisture content and delaminates at 22%.
- Use a pinless moisture meter on drywall. Readings above 17% require drying intervention. Readings above 30% often indicate the material must be removed.
- Baseboard and shoe molding: Pull a 12-inch section near the toilet flange. Wet caulk lines and dark staining on the back face confirm wicking into the wall cavity.
- Thermal imaging: A Rocky Ripple Water Restoration technician will scan the wall and floor for temperature differentials of 2 to 5 degrees, which reveal hidden moisture without demolition.
Step 5: Document Everything for Insurance (90 to 120 Minutes)
- Photograph the source, the standing water, and every wet surface before extraction begins.
- Record a 30-second video panning the entire bathroom and any rooms below.
- Save the failed component (supply line, wax ring, valve cartridge) in a labeled bag.
- Note the time of discovery and the time of shutoff. Insurers use this to determine sudden vs. gradual loss.
- Request a written scope from your restoration contractor. Sudden discharge from a plumbing component is typically covered; long-term seepage is typically not.
- Keep receipts for emergency mitigation purchases (fans, dehumidifier rental, plastic sheeting). Most policies reimburse these under reasonable mitigation efforts up to a defined sub-limit.
Step 8: Final Verification and Reconstruction Handoff
- Confirm dry standard with three consecutive matching moisture readings 24 hours apart.
- Remove equipment only after framing, drywall, and subfloor all hit target moisture content.
- Apply EPA-registered antimicrobial to all previously wet surfaces.
- Transition to reconstruction: new wax ring ($8 to $15), supply line ($12 to $25), drywall patching ($3 to $6 per square foot), and tile or flooring as needed.
- Request a certificate of completion. This document supports your claim file and any future real estate disclosure.
Step 6: Set Up Structural Drying (Hours 2 to 72)
- Air movers: 1 unit per 10 to 16 linear feet of wet wall, angled at 15 to 45 degrees.
- Dehumidifiers: LGR (low-grain refrigerant) units sized at 1 AHAM pint per 30 to 50 square feet of affected space.
- Target relative humidity: under 50% within 24 hours, under 40% within 48 hours.
- Temperature: maintain 70 to 85 degrees Fahrenheit for optimal evaporation.
- Daily moisture mapping until wood framing reads under 16% and drywall reads under 12%.
- Power draw: a single LGR plus 3 air movers pulls roughly 12 to 15 amps. Split across two circuits to avoid tripping a 15-amp breaker.
If your loss extends beyond the bathroom into adjoining rooms, full-scope water damage restoration in Rocky Ripple includes containment, antimicrobial application, and structural drying logs that meet most carrier requirements.